The rear skirt
The rear skirt is essentially the same as for the armour shown in 'Project 1' with some alteration being made necessary to fit the back of the cuirass. Consequently I won't deal with it's construction here in as much detail as was the case previously - but if readers want a re-cap this link will take you back to the relevant page.
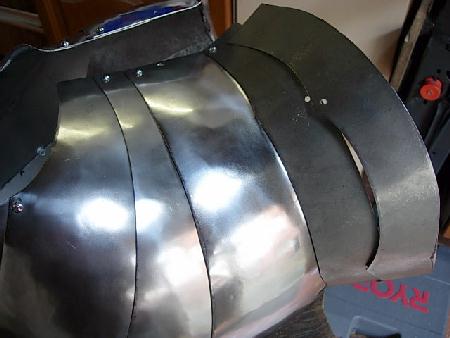
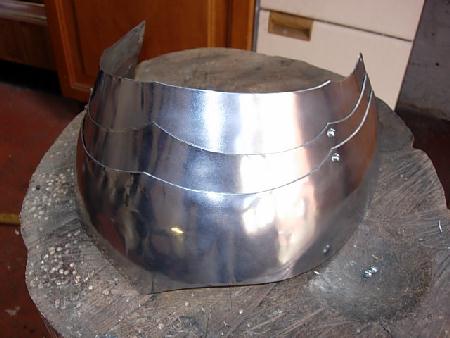
The skirt is formed of three articulating lames. The uppermost is riveted to the turned edge of the lowest plate forming the back of the cuirass. Fig. 15 shows the upper lame provisionally in place with the articulaing points for the middle lame being marked out.
As was the case with the cuirass, the pieces here are first fixed using 'pop' rivets after shaping and prior to polishing. This is a principle I intend to follow throughout this armour construction.
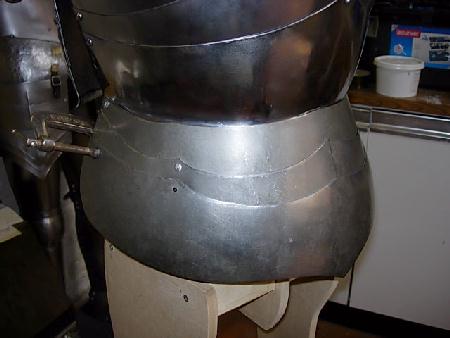
The next two images, Figs. 16 & 17, show the lowermost plate held in place with small 'G' clamps in order to accurately position the drill holes. The upper two lames are kept flat with no curvature imparted, whereas the lowest section has been dished into the shallowest depression on the stump using the heavy rawhide hammer.
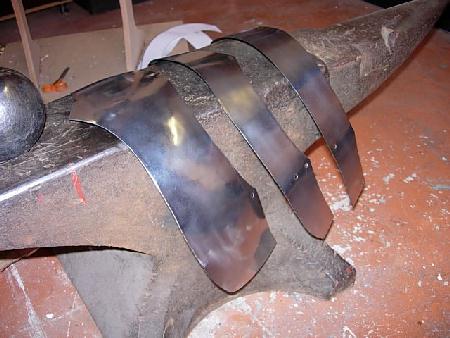
Following initial articulation and after any necessary reshaping, the pieces are polished. Fig. 18 shows the finished pieces prior to final fixing -
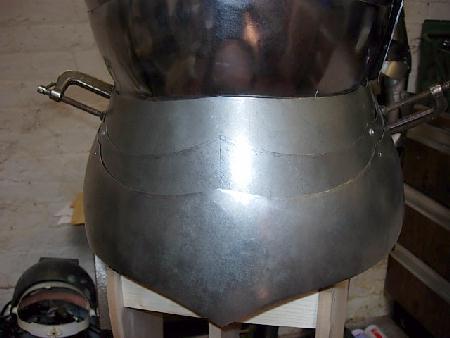
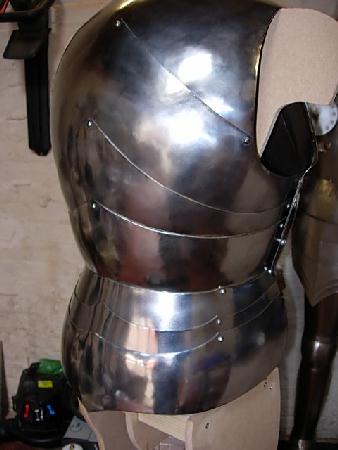
- and in Fig. 19 the three lames are articulated prior to riveting to the bottom of the cuirass.
The final image on this page shows the finished section in place.
On the next page I will be undertaking the construction and fitting of the front skirt, being made up of the taces and tuilles.