Construction of front and rear tassets
This phase of the construction will be dealt with in some detail so as to outline the basic techniques that are used in the construction of most of the pieces of armour.
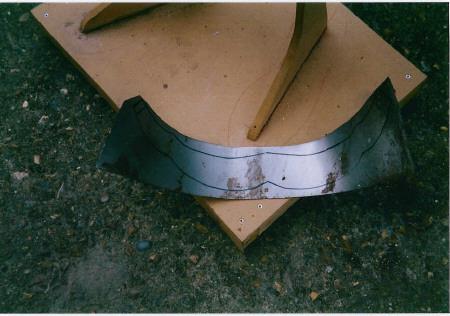
Fig. 4 shows the outline of the second piece of the rear tasset drawn around the cardboard pattern with a felt-tip marker pen on the steel ( the fact that there are rust marks on the steel doesn't matter as these will be removed in the finishing ).
Fig. 5 shows the piece cut and ready for curving in to shape to fit the section to which it will be articulated
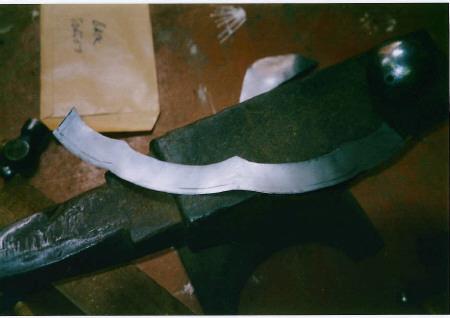
and in Fig. 6 the piece is now curved in to shape by hand and is shown by the lathe ready for finishing prior to be riveted in place, Fig.7.
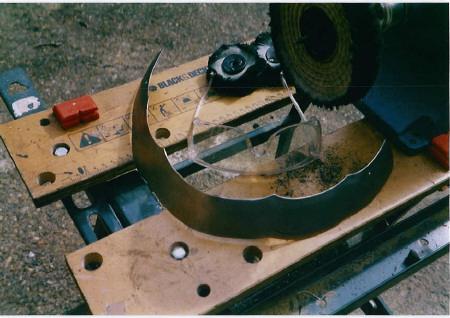
The bottom section of the rear tasset is shown having just been cut out and with the initial curve imparted to it ( by simply bending by hand ) in Fig. 8

A gentle doming is then given to this section by hammering over the steel ball using a rubber hammer. This produces the desired slight doming without marking the steel.
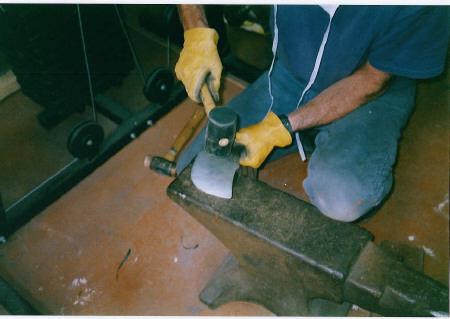
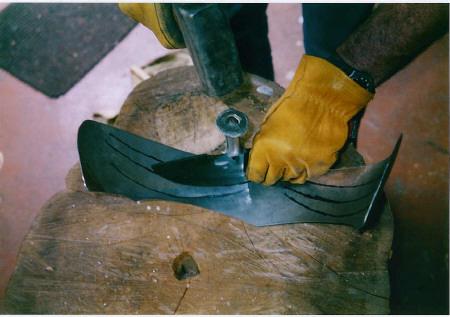
Fig. 10 shows the detailing being applied by using the club hammer to strike the cut-off end of a lawn-edge trimmer, following the lines drawn to form the indentations.
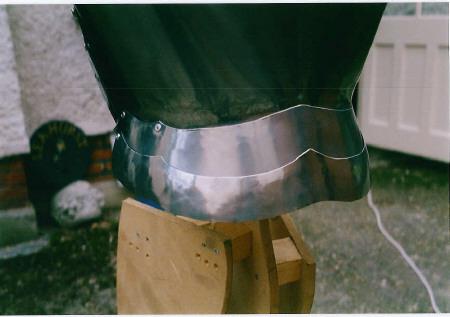
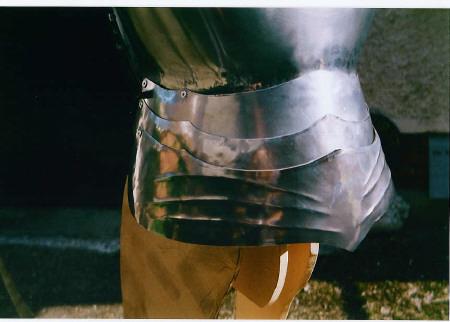
This piece is then polished and riveted in place - Fig. 11 showing the completed rear section.
On the next page I will show the front section of the tassets being made and fitted before beginning the construction of the leg defense.