Making the gauntlets
In order to make the gauntlets as life-like as possible it was decided to use a pair of leather gloves as the base. A new pair of leather gardening gloves was the initial choice, but these seemed a bit stiff and unnatural in shape compared to a pair that had seen a fair amount of wear. These had acquired a conformity to the shape of the hand over time and would produce a better finished result. The first task was to wash and dry them carefully so as not to lose this shape. After washing and wringing as dry as possible, they were put on and dried a little more with a towel and then carefully removed and left to dry slowly.
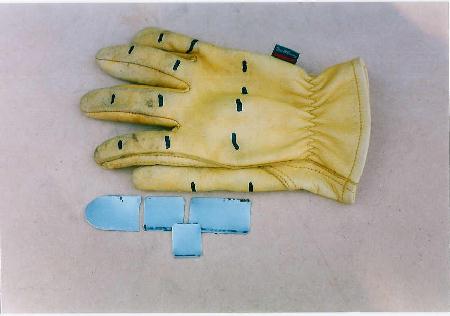
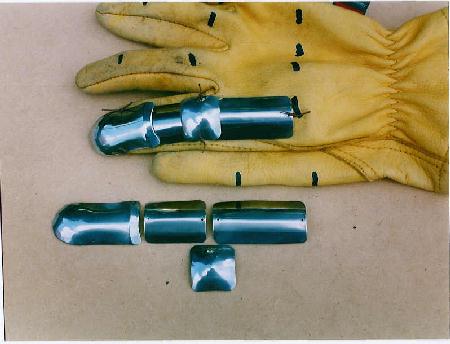
The plates for the fingers were made first - each finger to have two lames, a plate at the tip and a single domed gatling over the knuckle. Fig. 59 shows the right glove with the knuckle positions marked ( this was done with the glove on and the fist clenched ).
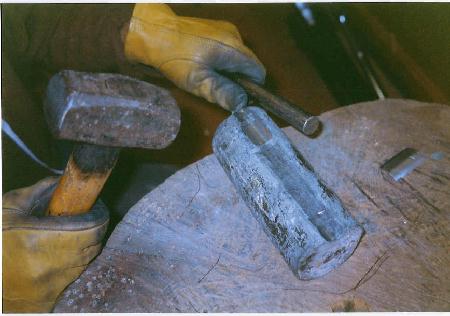
Each lame is now simply curled by using a steel bar over a lead block. The lame is placed on the block and striking the bar with a heavy hammer easily curves the small plates ( Fig. 60 ).
The finger tips are first curled in the same way and then the ends are domed into a dish-shaped depression in the lead block with the heavy ball-ended hammer ( Fig. 61 ).
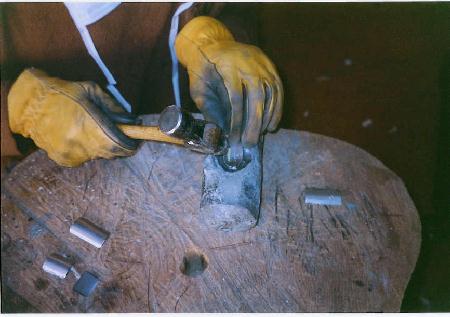
The lower end of each tip is then turned down to form the first knuckle by gentle hammering over the tip of the anvil horn. The knuckle gatlings are domed into the lead block using the heavy ball-ended hammer. If the blows are accurately placed to hit the piece dead centre a smooth curve is produced that requires no planishing ( Fig. 62 ).
The pieces are now attached to the glove - in this case by stitching on with waxed twine. This allows the flexibility required, but would not be satisfactory if the intention was to make gauntlets for use rather than display. If this were the intention the sections would be riveted to leather straps and these in turn riveted to the gloves with an interleaving layer of felt as padding. Fig. 63 shows the plates for the forefinger attached to the glove with those for the middle finger finished and drilled.
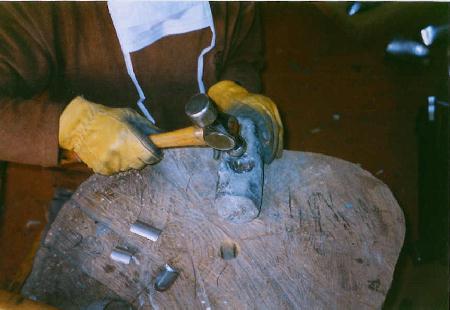
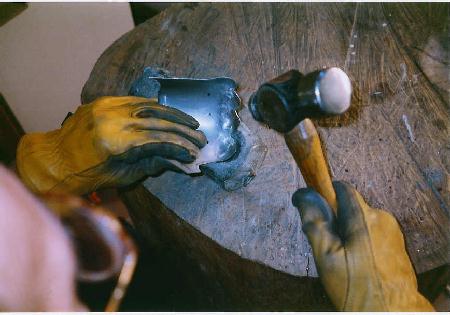
The plate covering the back of the hand, the metacarpal, is curved into shape and the knuckles domed into the lead block in the same way the gatlings were formed ( Fig. 64 ).
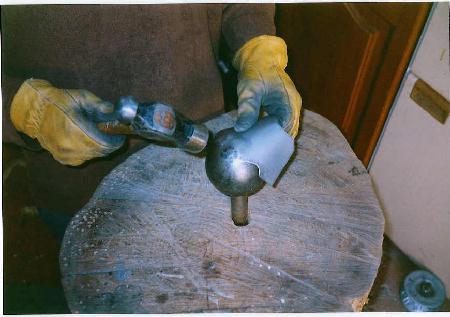
After doming it is necesary to planish the knuckle area over the steel ball to blend in with the back of the hand ( Fig. 65 ).
The planishing of this area will have the effect of removing any separation of the knuckles that was produced during the doming. This is restored and enhanced by hammering over the rounded end of a hardwood stake with a blunt bolster. In Fig. 66 the piece is balanced on the stake with the bolster ready to be struck, but in fact this is a two-person task in that it needs someone to hold the piece and move it over the end of the stake as the depressions are produced.
The next image ( Fig. 67 ) shows the metacarpal after shaping ready to be finished.
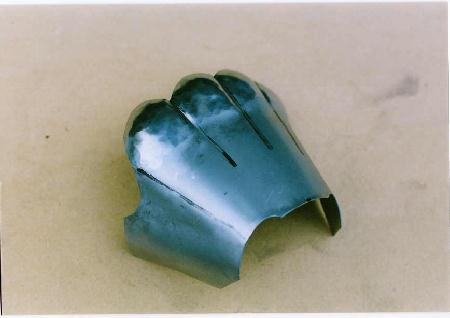
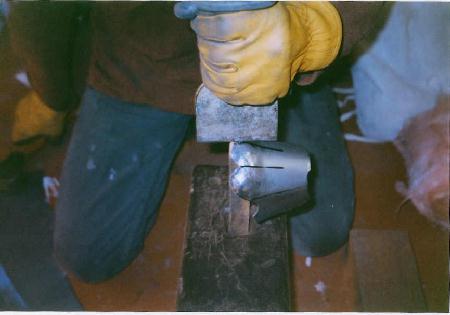
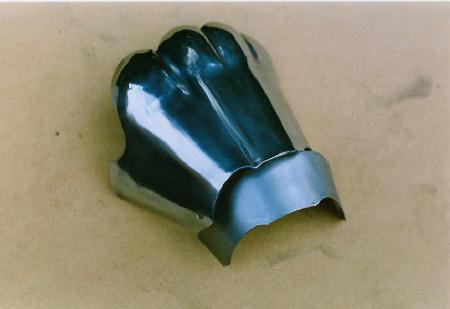
The narrowing of the gauntlet down to the wrist is accomplished by stepped articulation to a single lame over a pivot plate and Fig. 68 shows the finished metacarpal together with the lame that will articulate within it.
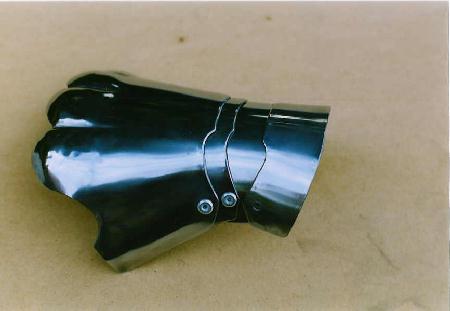
The narrowing at the wrist needs to be reversed in order to sweep out to the cuff of the gauntlet. This is achieved in the same way as with the sabaton, the stepped articulation leading to a pivot plate which reverses the progression. In Fig. 69 the lame fitting within the metacarpal is riveted in place over the pivot plate and the lame that will fit within the cuff lies over the pivot plate ready for riveting.
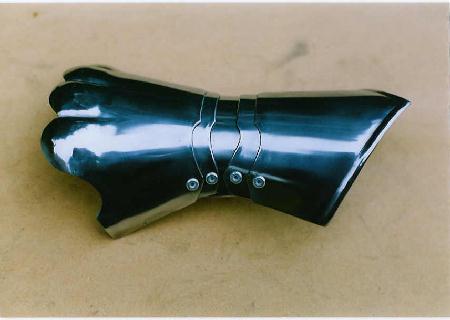
In Fig. 70 the cuff is finished and the stepped articulation is complete.
This section is next fixed to the leather of the gloves with either rivets or waxed twine and Figs. 71 and 72 show the completed gauntlets.

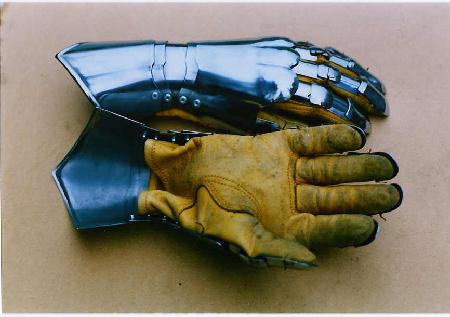
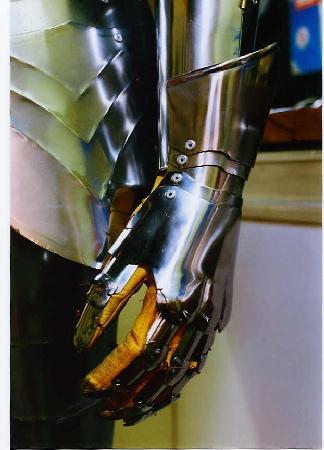
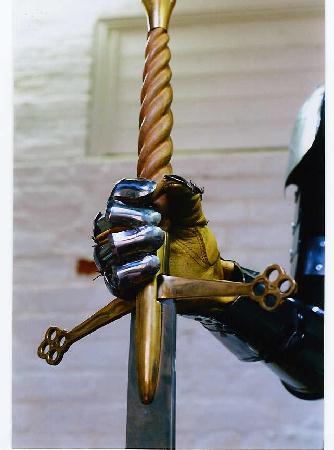
The final two images on this page ( Figs. 73 and 74 ) show the gauntlets in place ( as this piece is for display a rivet has been placed through the vambrace to hold them in position - this would, of course, not be necessary if the armour were being made to be worn ).
The next page shows the construction of the gorget that will form the neck defense and allow continuity of line from the top of the cuirass to the helm.