The plate armour for the foot or sabaton
The sabaton is formed by step articulation with a number of overlapping plates each riding on top of another. The plates are very similar in shape, but obviously a plate that articulates above another will be slightly longer. Consequently I find it easier to make the first plate initially and only then cut out the paper pattern for the next plate, so that it can be made to fit accurately, rather than attempting to cut out all the paper patterns before starting with the metal.
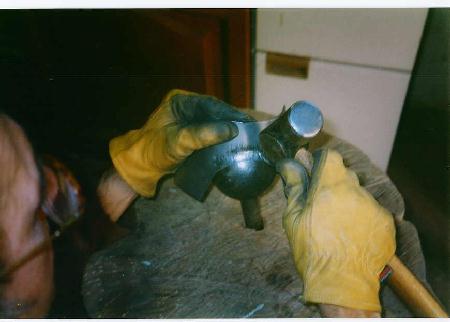
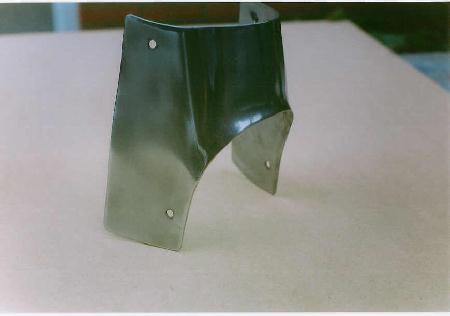
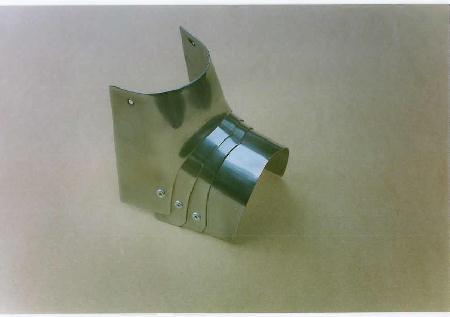
Whether one starts at the toe or greave end is a matter of choice - here I will be starting with the plate that articulates with the greave. This piece would often be incorporated in the base of the greave which would be flared into shape, but this is a rather difficult shape to achieve and so I am making a separate piece to form the covering for the ankle and this will be riveted to the bottom of the greave. Having cut out the metal and produced a gentle curve, the arch is flared outwards by careful hammer-work using the heavy ball-ended hammer against the steel ball. Fig. 35 shows the arch being flared and Fig. 36 the piece finished and drilled ready to form the paper pattern for the subsequent section.
The next three plates are made to fit inside the flared arch of this piece, each being a little smaller than the previous, so allowing a gentle downward slope that delineates the in-step of the foot. ( Figs. 37, 38, 39 ).
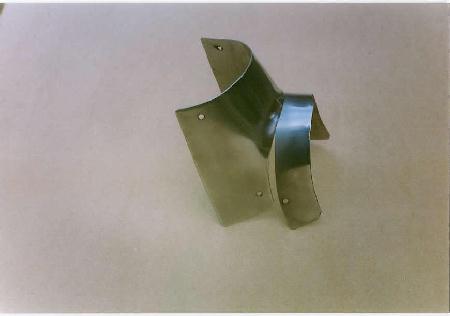
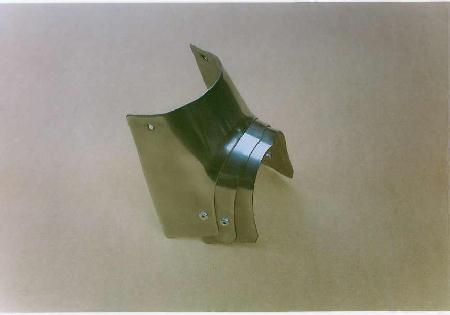
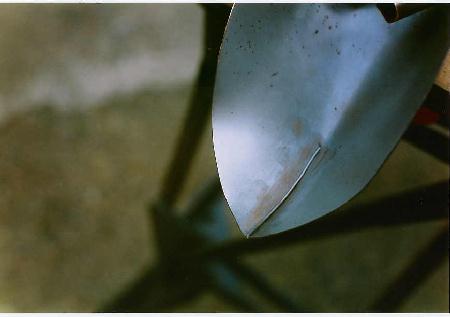
The last piece to be articulated ( Fig. 39 ) is made a little longer as this will form the pivot plate, where the pattern of stepped articulations will change from that of each successive plate fitting inside it's predecessor to fitting outside. Articulating with the pivot plate will be two more lames followed by the final toe section. This is fomed by cutting out a triangular piece from the pointed tip and curving the ends in to meet at a central ridge. Ideally the joint where the two pieces meet would be welded but, as this project is to be carried out using only simple tools, here it is soldered and Fig. 40 shows the joint fluxed with the solder strip in place ready for heating with a propane gas blow-torch.
The next image, (Fig. 41 ) shows the completed sabaton. The polished solder joint is indistinguishable from a welded joint and, as this armour is only for display, strength is not an issue here.
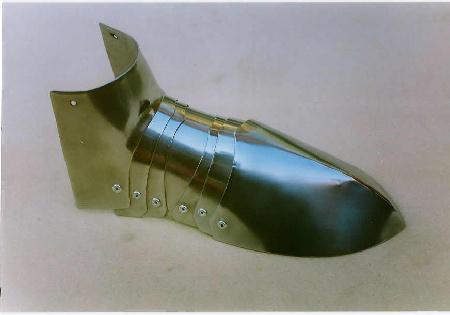
( Having finished the sabaton, I am not sure I am totally happy with the toe section and I might decide to revise this by continuing the stepped articulation with another pivot plate, so that there are a number of plates descending down to the tip rather than one single piece. If so I will do this at the end of the project and put this work on a separate page, to which I will put a link here and on the Home Page. )
The sabaton is now riveted to the end of the greave - and Fig. 42 shows the armour so far with both the leg defenses articulated and the sabatons in place.
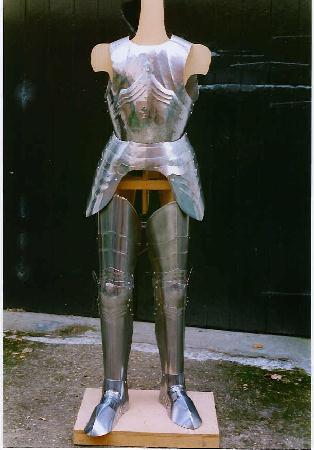
It is now beginning to look like a suit of armour and on the next page I will be making the plate armour for the shoulder and upper arm - the pauldron.