The leg harness or defense
The plate armour which provides defense for the leg is divided into three sections - the upper plate covering the thigh, known as the cuisse, the knee section or poleyn, which articulates with the lower plate or greave.
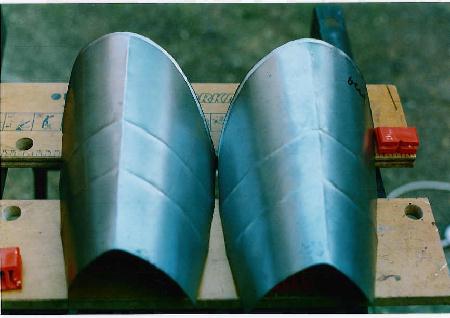
The first piece to be made is the cuisse. This is to be made in a simple curve with no doming being carried out. The only hammer work is in forming the upper rolled border and applying the detailing, both of which add to the strength and rigidity of the piece. Fig. 20 shows the two pieces ready for finishing.
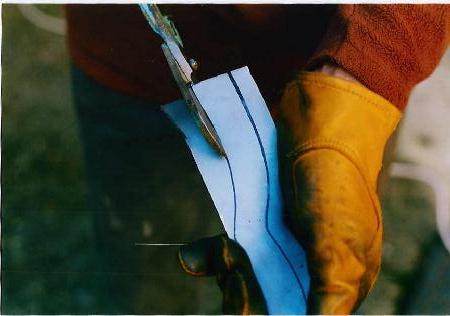
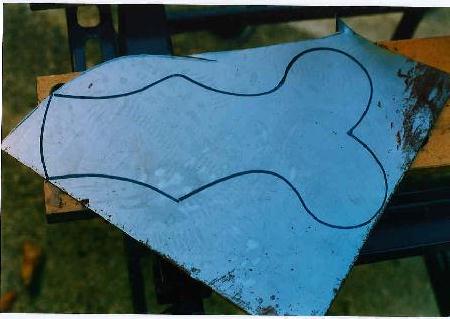
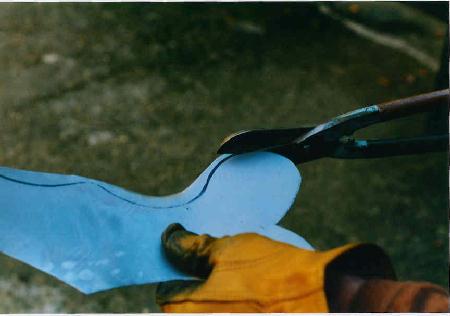
The knee defense is made up of 4 lames, 2 above and 2 below the poleyn. This allows for a great degree of flexibility without the plates ever separating to leave a gap even at full flexion of the knee. In fact with the leg straight the lames above and below the poleyn are almost hidden beneath it. For this sort of shell articulation to work well the pieces need to fit as accurately as possible and so it is worth spending time both in carefully shaping the pieces to fit each other and in very accurate placement of the rivets. It is all too easy to ruin the fit of a piece that was perfect by drilling the rivet hole a fraction of a millimetre out of line. In fact if one does make this mistake the hole can usually be filled by careful hammer work to spread the metal across to cover the defect. Figs. 21, 22 & 23 show the lames and poleyn being cut out of the steel sheet using the shears
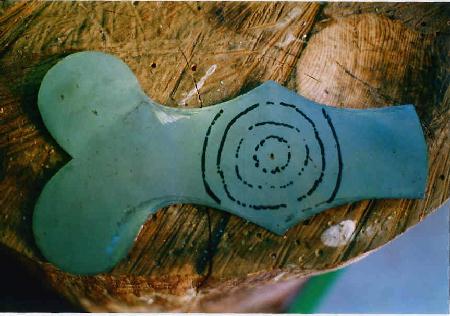
The next stage is the doming ( or dishing ) of the poleyn. Since few pieces of plate armour are simply curved in to shape, most will require some degree of doming - and the technique is basically the same for each piece irrespective of it's size. The technique of imparting a gentle doming using a rubber hammer applied to the outside of the piece over the steel ball was shown in Fig. 9. Deeper doming is carried out as a two-stage process. Firstly the outline of the area to be domed is marked out in a number of concentric rings. These will act as a guide for placement of the hammer work ( Fig. 24 ).
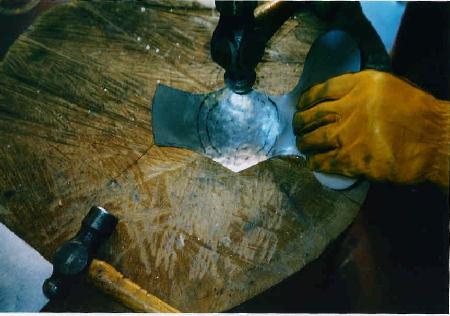
The piece is hammered from the inside over the dish-shaped depression in the stump. A rawhide hammer is often used, particularly on larger pieces such as the cuirass. This has the advantage of stretching the steel less than using a steel hammer and the relatively soft face of the rawhide hammer produces much less marking of the steel and so reduces the necessity for finishing. However, for the deeper doming that is required for pieces such as the poleyn I prefer to use a heavy ball-ended steel hammer. The piece is hammered from the outside inward working in a spiral using the lines drawn as a guide. Any creases that are formed around the outside of the piece are removed immediately by carefully directed hammer blows. As work progresses the piece is 'pushed' down into the dish-shaped depression on the stump ( Fig. 25 ).
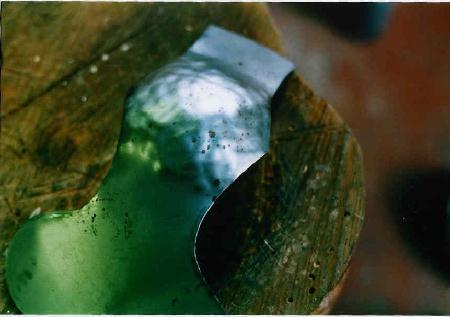
This initial doming should only take a few minutes of fairly vigorous hammer work. This generates a considerable amount of noise and ear defenders must be worn to prevent possible damage to hearing. The resulting effect is to create quite a deep doming of the piece but with rather an uneven, unfinished look from the outside ( Fig. 26 ).
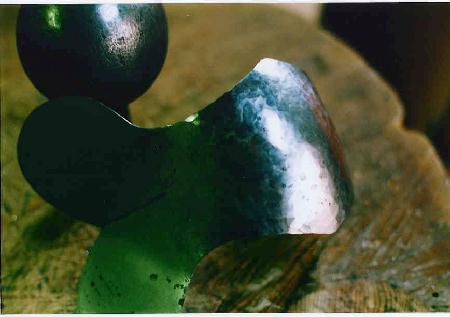
The piece is next smoothed by hammering from the outside over the steel ball. This technique is known as planishing and is carried out with the flat face of the ball-ended hammer that was used for doming into the stump. The face of this hammer should be highly polished, as the finish on the hammer is the finish that will be imparted to the work. The piece is placed over the steel ball and, working from the centre in circular passes, overlapping blows are used to create a faceted effect. It is important to always move the piece being worked on rather than varying the direction of hammer blows - the hammer always striking the same spot on the ball with the piece being worked moving between the two. Several passes may be necessary to produce a smooth even doming of the piece. ( Fig. 27 ).
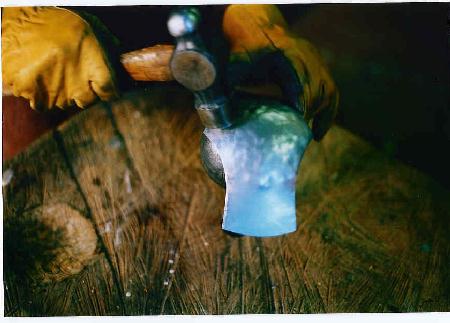
Fig. 28 shows the poleyn at the completion of raising the dome and planishing. The faceted appearance produced by the hammer can be seen clearly. Medieval armourers would often leave the piece at this point and indeed if the piece is polished at the completion of the planishing stage, without sanding the surface, a very attractive finish is produced.
To my mind leaving the marks left by the hammer is rather akin to seeing the brush strokes in a painting. In fact the cuirass was polished at this stage, but here we will complete the piece by sanding the surface smooth prior to polishing.
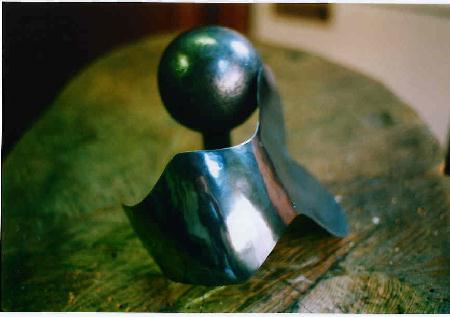
Fig. 29 shows the completed poleyn with holes drilled ready for articulation, which will be dealt with on the next page.