The tassets
In the early part of the 16th.C the front tassets were still formed of two or three plates, often in a shield shape, fixed to a skirt made of a number of lames, swelling out from the waist - rather like those in the armour that was made in the previous project. As the century progressed the skirt diminished to be formed of a single piece and to this the tassets, which by now were made up of a larger number of narrow lames, were attached.
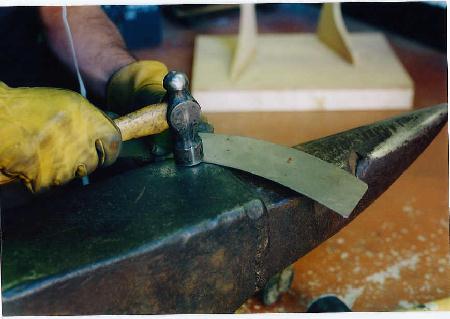
Fig. 18 shows the edges of one of the lames being flattened after cutting and prior to being curved to fit against the skirt.
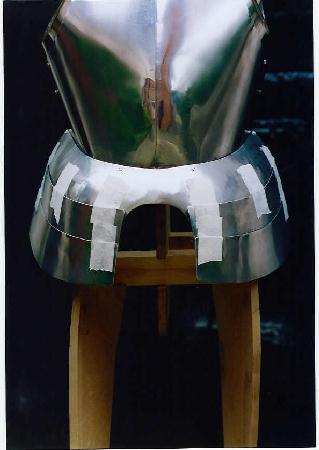
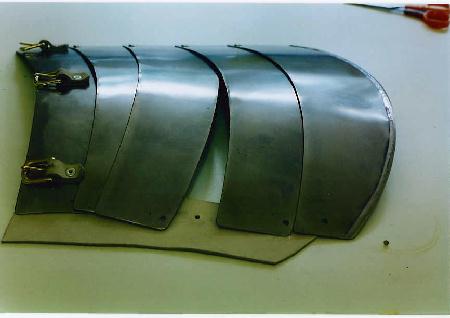
As the lames that will form the tassets are made they are suspended temporarily from the skirt with masking tape, making it easier to get the position and line correct before any holes are drilled. Fig. 19 shows the first two of the five lames that will go to form the tassets temporarily in place.
The tassets are attached to the skirt using three buckled straps on each side. For this armour these are individually made by cutting out the leather from calf skin. The leather has not been died, but is left in it's natural state after tanning, which I think gives it a more authentic appearance. Fig. 20 shows the leatherwork in progress -
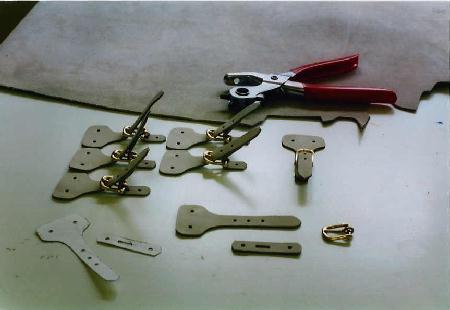
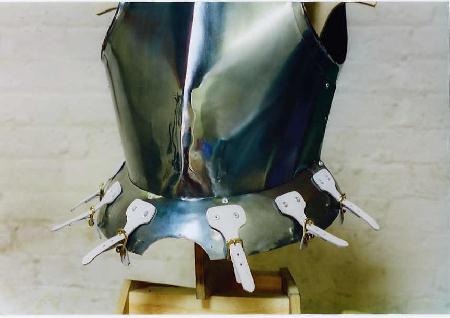
- and Fig. 21 shows the straps attached to the skirt.
The outer edges of the tasset lames are riveted directly to each other, whereas the inner edges are riveted to a strip of leather - with the rivets being concealed by the overlapping lames. Fig. 22 shows the left tasset with the outer edges of the lames riveted together and the inner edges ready to be fixed to the leather.
The leather is placed so that after fixing just over 2cms. extends beyond the inner edge of the piece. The excess is now trimmed away to within 4 - 5mm. of the metal using 'pinking shears' - which produce a zig-zag pattern ( Fig. 23 ).
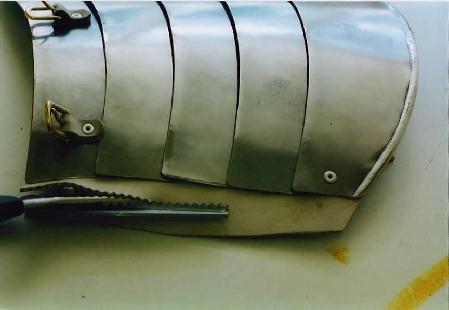
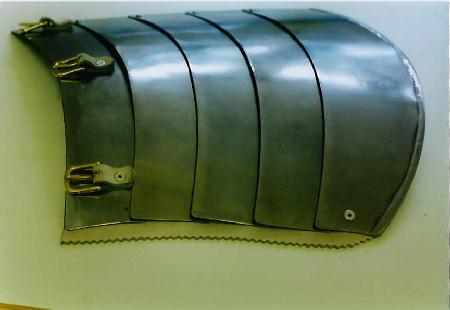
Fig. 24 shows the left tasset with the leatherwork almost complete.
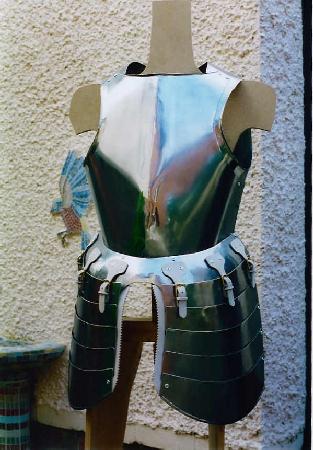
Finally loops are added below the buckles to hold the upper sections of the straps neatly down ( Fig. 25 ) - and in Fig. 26 the tassets are complete and in place.

On to the next stage - making the upper leg protection or cuisse.