Making a Stone Plaque
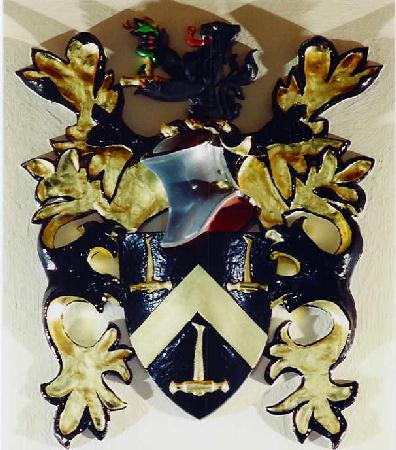
As with the simple shield made on the previous page, the first step is to make the master from which the mould is taken. Here I chose to model the arms using a self-curing modelling clay rather than plasticine. This affords the advantage that, once the mould has been made from it, the master can then be painted and gilded. Fig. 6 shows the master in it's raw state prior to making the mould - and Fig. 7 shows a similar plaque which has been painted and gilded.
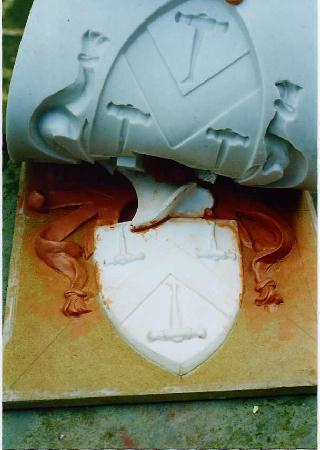
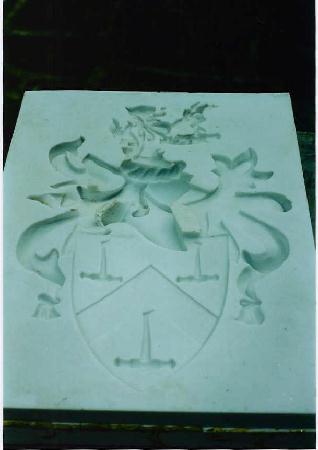
On the previous page the mould was made using a non-reversible hydrocolloid ( alginate ), but here I have used a silicon rubber. This produces better detail and the mould is much more durable so many castings can be taken from it. Also some casting materials, such as cement based stones and resins, will not set in an alginate mould. Fig. 8 shows the set mould being removed from the master and Fig. 9 shows the finished mould.
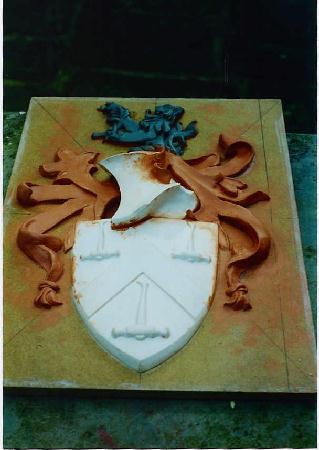
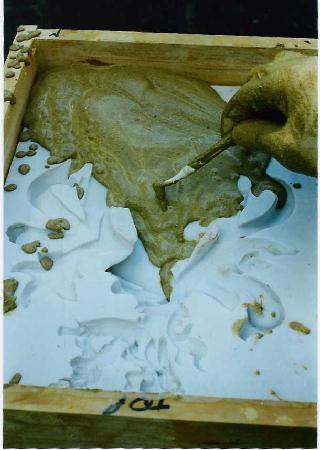
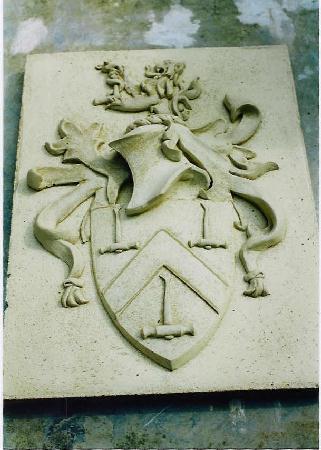
A simple wooden box is made around the mould prior to casting and in Fig. 10 the casting stone is being poured. Here the stone is made up using a white cement with a mixture of fine and soft sand - adding water to produce a smooth creamy consistency. The mould is filled slowly using a small brush to ensure the detail is reproduced faithfully and that no air-pockets are trapped. When filling is complete the mould is agitated to allow air bubbles to rise to the surface and the sand/cement mixture to compact down into the detail. The stone is then left for 3 to 4 days to allow it to fully cure before removing from the mould and Fig. 11 shows the completed casting.
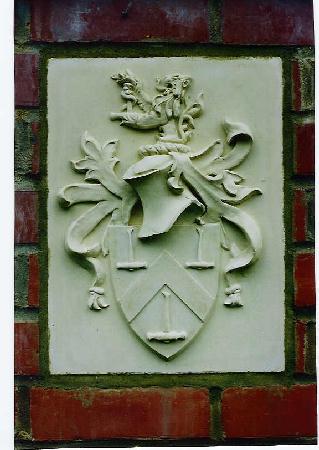
This was intended to be set in a recess cut for it in a brick pillar and the final image on this page ( Fig. 12 ) shows the completed plaque mortared in place.
Back to Home page